How to Optimise PDF Files – Step-by-Step Guide
Looking for PDF optimisation help? Well, the steps below will guide you through keyword-optimising PDF files for search engines. As an illustration, consider our Category Management Guide, optimised specifically for the keyword ‘Category Management’.
1. Filename Based on Keyword Analytics / SEO
Firstly, ensure the keyword is in the file name, for instance, save it as ‘Category Management Guide’.
2. Title and Description
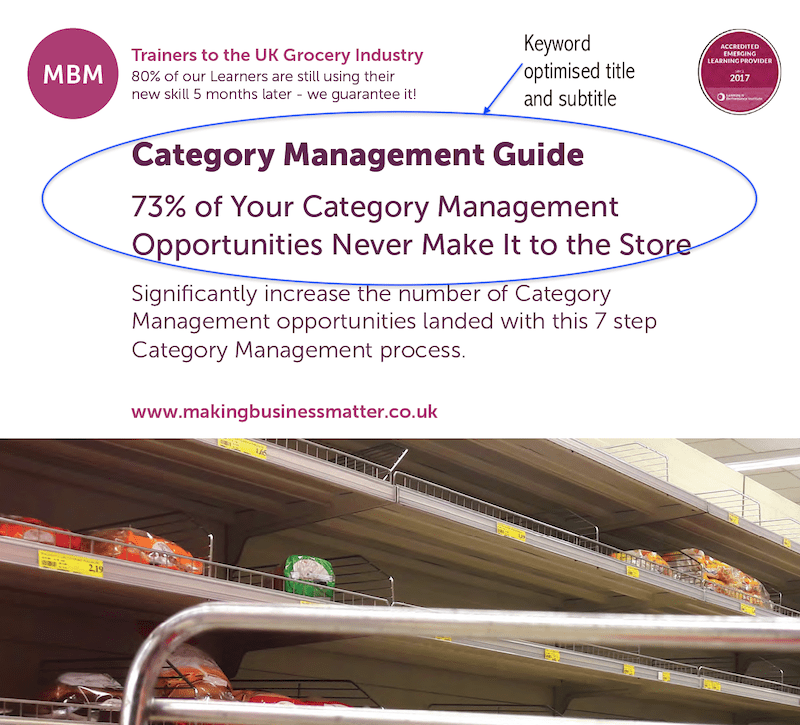
2.1 Keyword Optimised Title with Less Than 55 Characters:
For example, ‘Category Management Guide’ – 25 characters.
For example, ‘Presentation Skills Infographic’ – 31 characters.
Sticky Learning ® is 7 times more effective than 1-day training courses. Plus, you will get a Chain of Evidence proving your Return on Investment. Discover soft skills training that changes behaviours long term.

2.2 Description with 150 Characters in Length:
For example, ‘Read this Category Management Guide. Know that 73% of your category management opportunities never make it into the store. Improve your landing rate.’ – 149 characters.
For example, ‘Most people start with Powerpoint to write a presentation. Don’t. Read this Presentation Skills Infographic because you will create engaging presentations.’ – 155 characters.
3. In Document Properties:
Here’s another important step for PDF Optimisation. This video shows how to access document properties, and what each different field does:
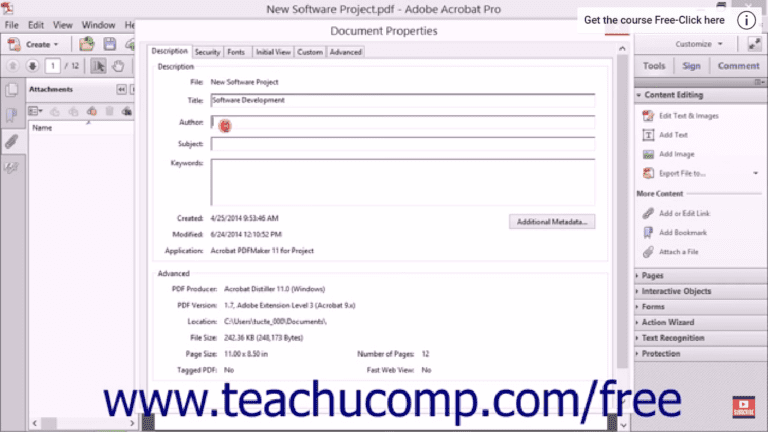
3.1 Specify the Title
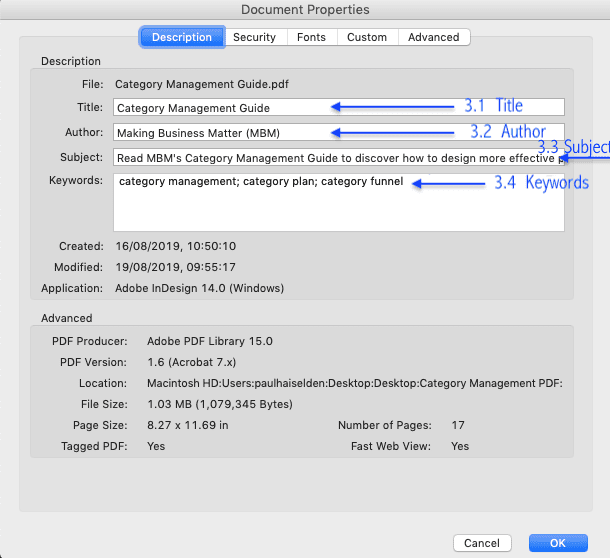
As we have titled the PDF on the page, above, we also have to specify the title in document properties. In this instance, simply fill in ‘Category Management Guide’.
3.2 Specify the Author
In our case, it’s simply Making Business Matter Limited (MBM).
3.3 Specify the Subject
Here, we need to provide a metadata-style description (description field). On the other hand, whereas the description (above) serves as an optimised subtitle, the subject here resembles the metadata snippet in WordPress. This embedded data describes what the content is. It’s the place where we can ‘sell’ the article to entice the reader. So, what will they gain from reading the PDF?
For instance, ‘A Category Management Guide of 17 pages. Each section is dedicated to explaining the 7-layers of the 73% Funnel. Challenge, Example & Action for each layer.’ – 155 characters.
Similarly, consider this example, ‘A Presentation Skills Infographic. The most popular questions entered into Google on presentation skills are answered here. Create engaging presentations.’ – 155 characters.
3.4 Keywords
Here, we specify the keyword(s) we are targeting with this article, as per metadata in WordPress.
Moreover, I’ve seen articles that state no more than 10 keywords, but personally, I think that is too many for PDF Optimisation. For content written for a specific purpose, I would have a maximum of 3. As in WordPress, one focus keyword; in this instance, ‘Category Management’, and two related keywords, for example, ‘Category Plan’ and ‘Category Funnel’.
Furthermore, keywords are separated by commas. Additionally, Hassan, a graphic designer, has said this, ‘Semi-colons appear as commas in the general properties dialog box, but as we click on additional metadata, the same appear with semi-colons, which according to Adobe serves the same separation purpose as commas do’.
3.5 Add Additional Metadata
Moreover, Acrobat Pro DC provides an option for additional metadata. This feature is intended for copyright notices and URLs. Typically, you won’t need this for a conventional PDF unless specifically instructed.
4. Ensure It Is Saved as a Text-Based PDF for PDF Optimisation
This allows Google and other search engines to crawl the text, as it would a normal webpage. Thus making it another crucial PDF Optimisation must-do.
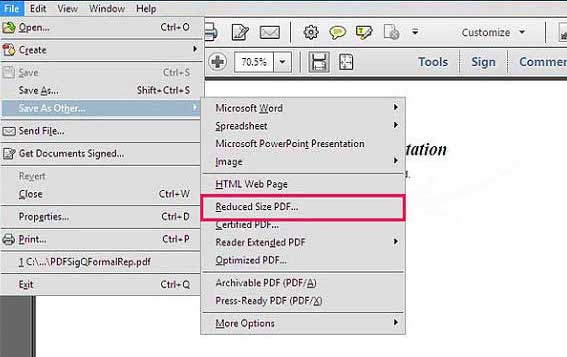
5. Keep File as Small as Possible (Reduced Size/Compressed PDF)
6. Write-Protect the File to Prevent It from Being Used/Adapted by Others
Add a password of the keyword, e.g. ‘Category Management’ and the current year, e.g. ‘2019’, to make ‘CategoryManagement2019’.
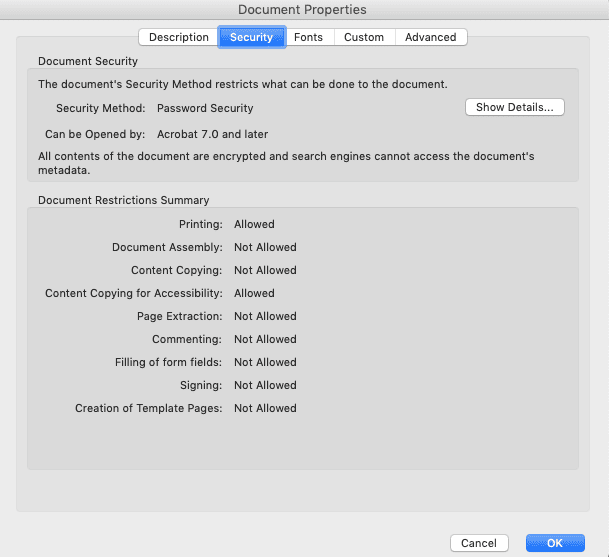
This video provides further information on how to write and protect the PDF for PDF Optimisation:
7. Ensure All In-Document Links Work
Check all links that are included in the text, or embedded in images, work correctly.
8. Use Accessibility Tools to Touch up the Reading Order and Add Alt Tags for Images
Lastly, use the accessibility tools to tag and number the order of the items on the page. This helps guide audio readers. It provides instructions for audio reading as to what each item on the page is, and the correct order to follow to read it out loud. By default, this doesn’t always happen. Basically, we want the page to be read in the order we would read it. The accessibility tools in Adobe Acrobat allow you to stipulate the order.
The video below provides a step-by-step guide to the tagging process and formatting the reading order correctly:
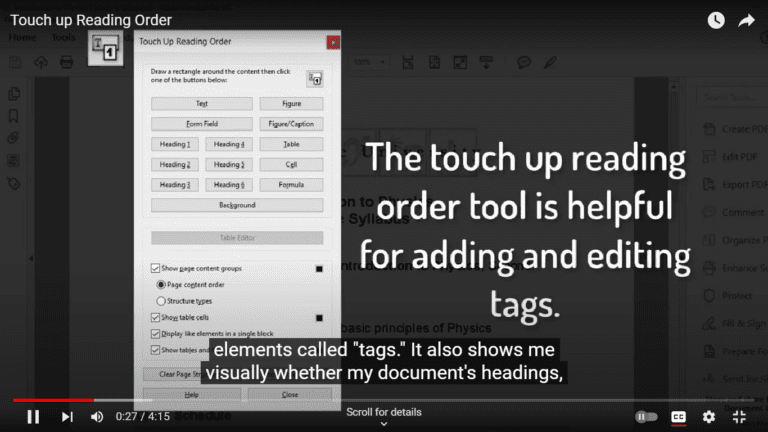
8.1 Tag Items
The tagging is essential so that audio readers understand the content. This includes headings, paragraphs of text, graphics, and images. Each item must be appropriately tagged.
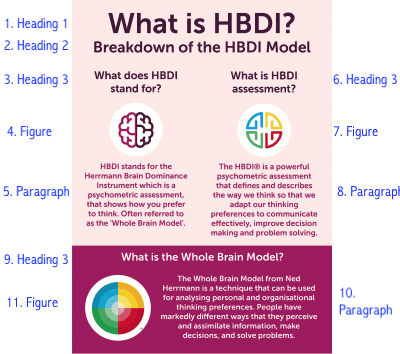
For example, the title would be labelled as ‘Heading 1’. Following that, you would tag the subheading as ‘Heading 2’. Next, you can proceed to tag the ‘Text/Paragraph’, which constitutes the main body of the page.
Additionally, you can tag images, such as the MBM logo and ‘Trainers to the UK Grocery Industry’, as a ‘Figure’ and a ‘Figure/Caption’. Once you’ve tagged them as a ‘Figure’, you can then add alt attributes to them. This is where you can describe what is in the image, similar to how you would use alt attributes in WordPress.
8.2 Specify Reading Order
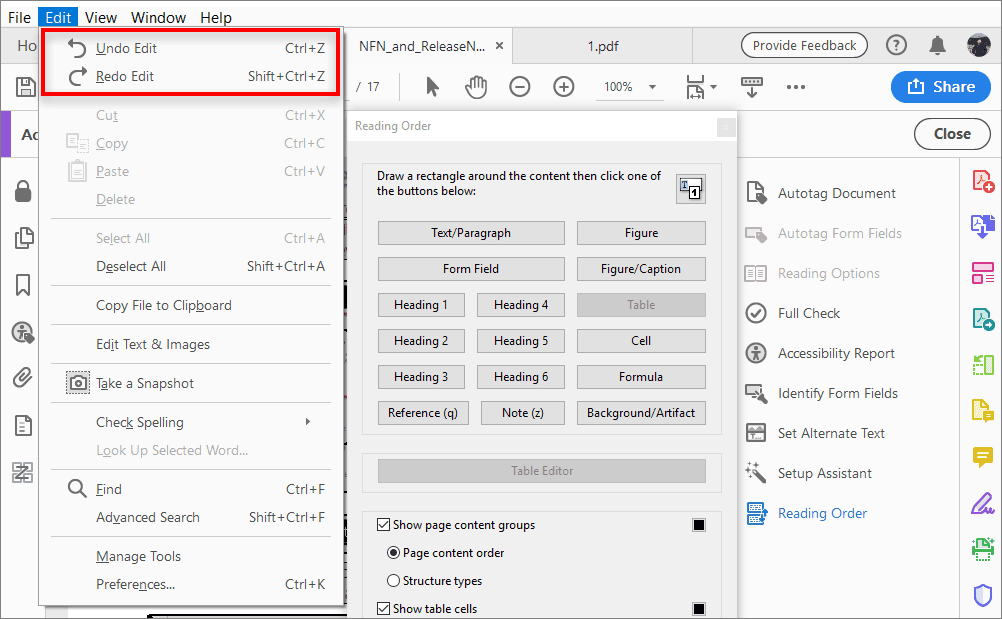
Now here’s an overlooked step for PDF Optimisation. Once you have specified what each item is, e.g. H1, Figure etc. you can now format the reading order in the reading order panel. Simply organise the order of the tagged content to establish the reading order.
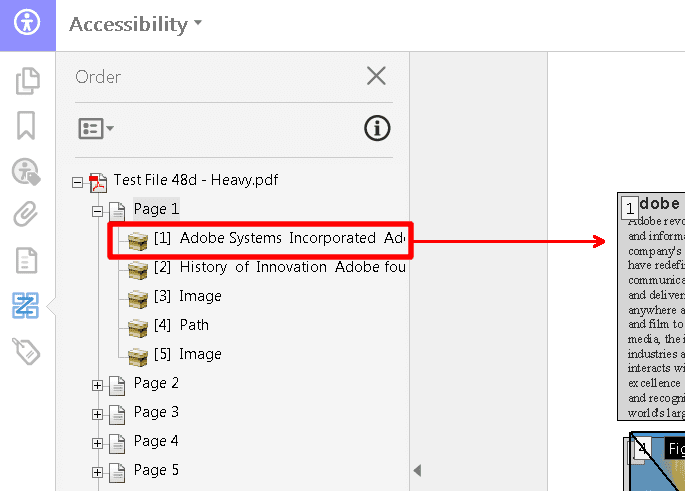
For instance, 1. H1 (Document title) > 2. H2 (subtitle) > 3. Text/Paragraph. > 4. Figure/Image
The image below, shows how the tags and reading order would look for our HBDI Infographic:
8.3 Bookmarks
Note that you don’t need bookmarks for PDF optimisation.
9.0 Checklist for PDF Optimisation
Finally, please use this checklist to check your work on the above PDF Optimisation tips.


